- 公開日
docker-compose で Rails6 + MySQL な環境を構築する

目次
docker-compose を使って Ruby 2.7 + Rails 6.0 + MySQL 8.0 の環境を構築してみたいと思います。
ゴール
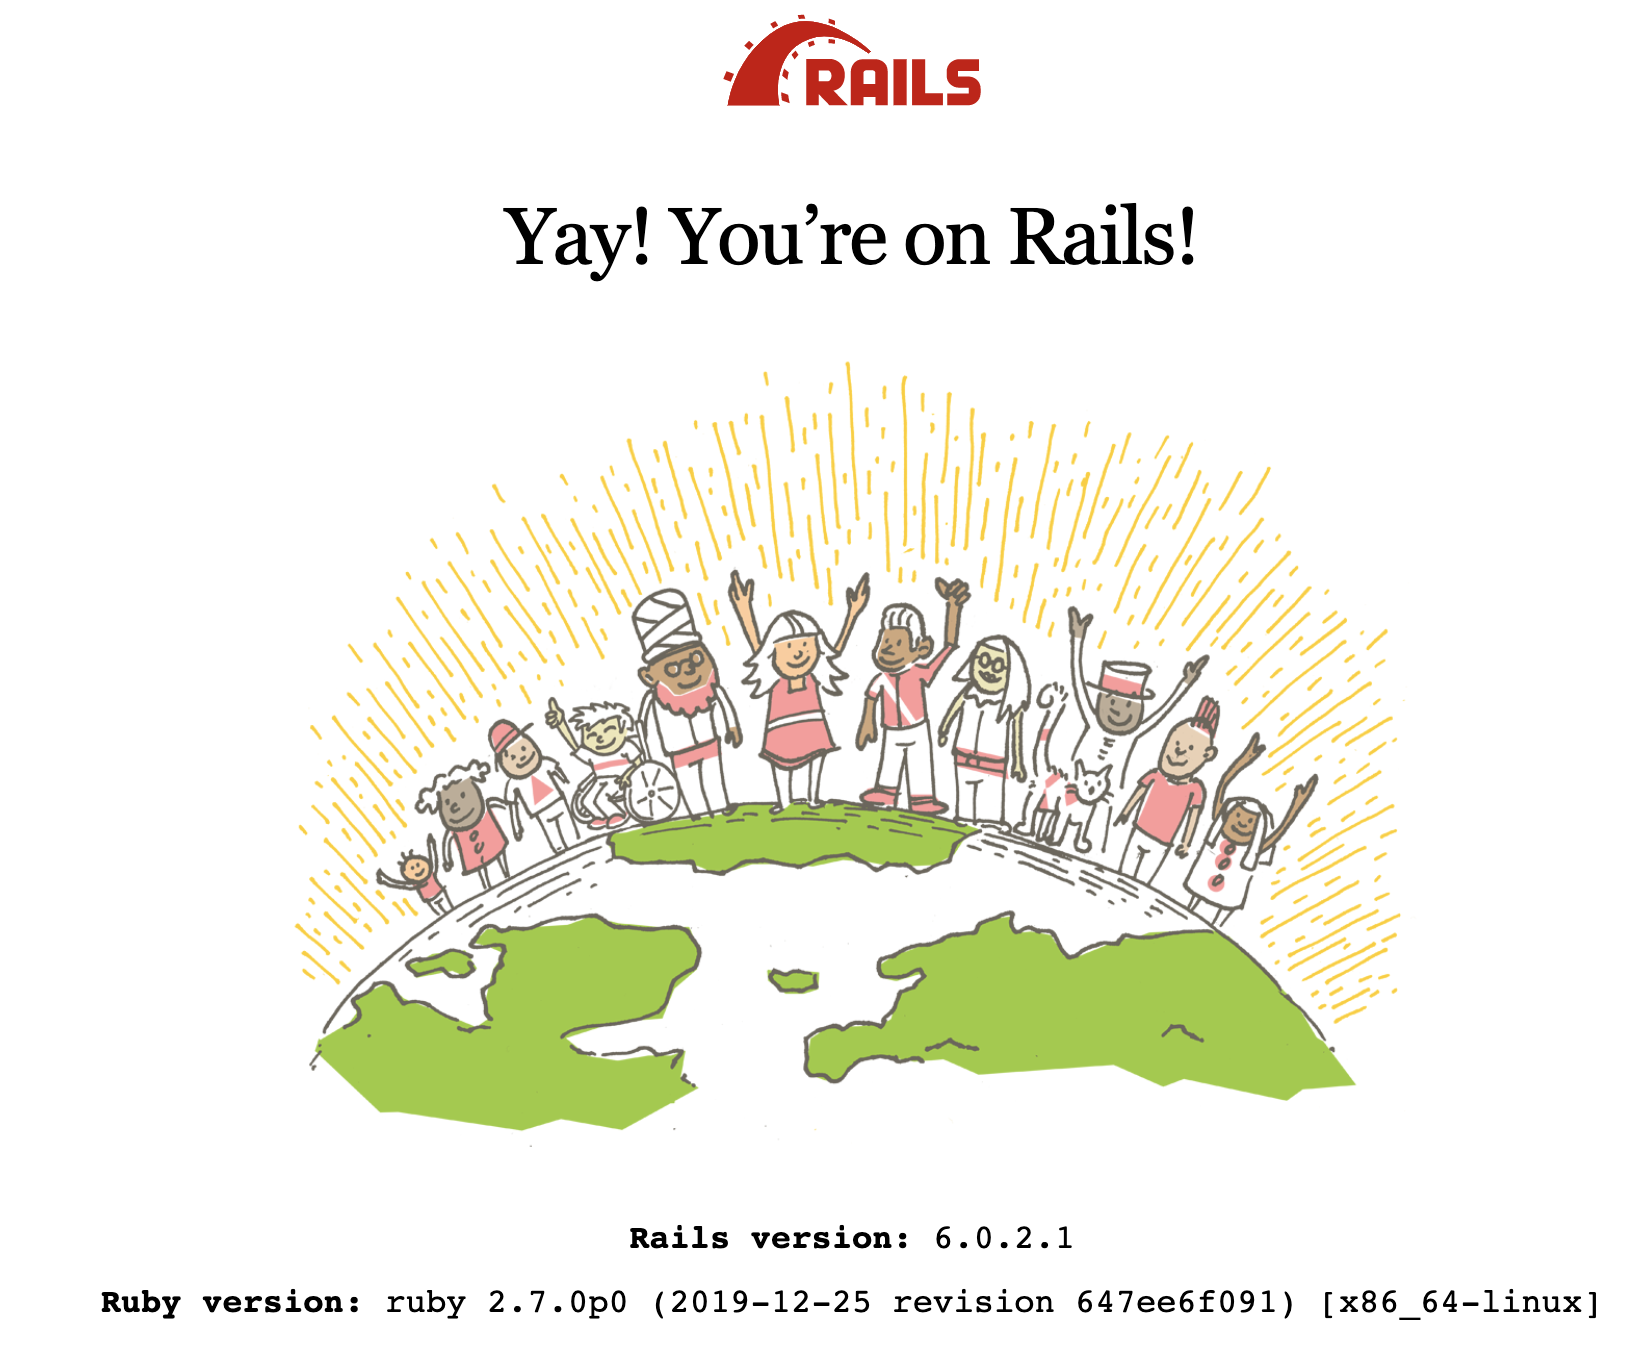
ゴールはRailsのデフォルトホーム画面を表示させるところまでです。
手順
下記の手順をベースに進めていきます‥
Quickstart: Compose and Rails | Docker Documentation
Dockerfile
適当なディレクトリを用意して、Dockerfileを下記の通り用意します。
FROM ruby:2.7
RUN apt-get update -qq && apt-get install -y nodejs yarnpkg
RUN ln -s /usr/bin/yarnpkg /usr/bin/yarn
RUN mkdir /app
WORKDIR /app
COPY Gemfile /app/Gemfile
COPY Gemfile.lock /app/Gemfile.lock
RUN bundle install
COPY . /app

# Add a script to be executed every time the container starts.
COPY entrypoint.sh /usr/bin/
RUN chmod +x /usr/bin/entrypoint.sh
ENTRYPOINT ["entrypoint.sh"]
EXPOSE 3000

# Start the main process.
CMD ["rails", "server", "-b", "0.0.0.0"]
yarnpkgでyarnを入れると、yarn という実行ファイルではなくyarnpkgという実行ファイルになってしまうので、シンボリックリンクを作成している点に留意。
初期Gemfile
下記の通りGemfileとGemfile.lockを用意します。
source 'https://rubygems.org'
gem 'rails', '~>6'
- 今回は Rails v6 (現時点の最新バージョン)を使います
$ touch Gemfile.lock
- 現段階では
Gemfile.lockは空でOK
entrypoint.sh
DockerfileでENTRYPOINTとして定義している entrypoint.sh です。
#!/bin/bash
set -e

# Remove a potentially pre-existing server.pid for Rails.
rm -f /app/tmp/pids/server.pid

# Then exec the container's main process (what's set as CMD in the Dockerfile).
exec "$@"
docker-compose.yml
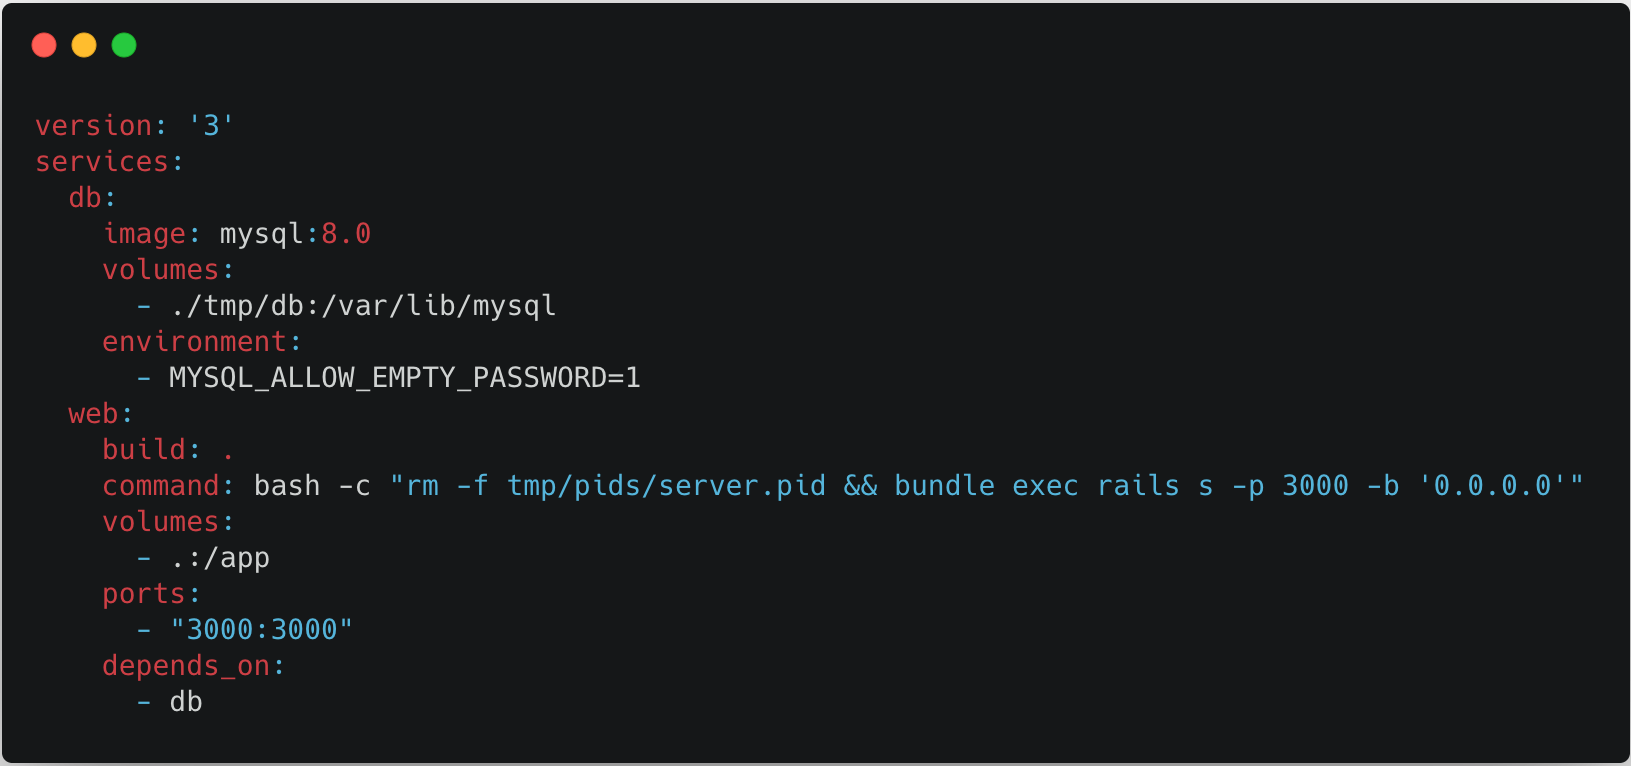
docker-compose.ymlを下記の通り用意します。
version: '3'
services:
  db:
    image: mysql:8.0
    volumes:
      - ./tmp/db:/var/lib/mysql
    environment:
      - MYSQL_ALLOW_EMPTY_PASSWORD=1
  web:
    build: .
    command: bash -c "rm -f tmp/pids/server.pid && bundle exec rails s -p 3000 -b '0.0.0.0'"
    volumes:
      - .:/app
    ports:
      - "3000:3000"
    depends_on:
      - db
- MySQL は 8.0 (現時点の最新バージョン)を使用
MYSQL_ALLOW_EMPTY_PASSWORDを設定することでpasswordが空でもrootで接続できるようにしておく
rails new
rails new のコマンドをwebコンテナ上で実行してRailsのファイル群を生成します。
$ docker-compose run web bundle exec rails new . --force --database=mysql
--forceで既存ファイルを上書き- DBはmysqlを指定
Railsのファイル群が rails new コマンドによって出来上がったので build します。
$ docker-compose build
DBホスト名変更
このままではDBに接続できません。なぜならば host 名を変更する必要があるからです。
下記の通り config/database.yml のhostの部分を db に置き換えましょう。
default: &default
  adapter: mysql2
  encoding: utf8mb4
  pool: <%= ENV.fetch("RAILS_MAX_THREADS") { 5 } %>
  username: root
  password:
  host: db
development:
  <<: *default
  database: app_development
test:
  <<: *default
  database: app_test
hostにdbを設定dbはコンテナ名になります
build後に docker-compose up します。
$ docker-compose up
localhost:3000 でRailsが立ち上がるのでアクセスしてみましょう。
Error: caching_sha2_password could not be loaded
しかしここでRailsに接続すると、下記のようなエラーが発生します。
ActiveRecord::NoDatabaseError

Plugin caching_sha2_password could not be loaded: /usr//usr/lib/x86_64-linux-gnu/mariadb19/plugin/caching_sha2_password.so: cannot open shared object file: No such file or directory
これはwebコンテナが mysql 8.0 のcaching_sha2_password認証方式に対応していないためです。
下記の手順で caching_sha2_password を mysql_native_password(旧来の認証方式)に変更しましょう。
DBコンテナでmysqlクライアント起動
$ docker-compose exec db bash
dbコンテナのbashを起動後にmysqlコマンドで接続します。
# mysql -u root
Welcome to the MySQL monitor.  Commands end with ; or \g.
Your MySQL connection id is 9
Server version: 8.0.18 MySQL Community Server - GPL

...
認証方式変更SQL
下記のクエリでユーザー一覧とその認証方式が閲覧できます。
mysql> select User,Host,plugin from mysql.user;
+------------------+-----------+-----------------------+
| User             | Host      | plugin                |
+------------------+-----------+-----------------------+
| root             | %         | caching_sha2_password |
| mysql.infoschema | localhost | caching_sha2_password |
| mysql.session    | localhost | caching_sha2_password |
| mysql.sys        | localhost | caching_sha2_password |
| root             | localhost | caching_sha2_password |
+------------------+-----------+-----------------------+
5 rows in set (0.00 sec)
全て caching_sha2_password に設定されています。これをmysql_native_passwordに変更します。
今回対象となる root@% のユーザー設定を ALTER USER を使って変更しましょう。
ALTER USER 'root'@'%' IDENTIFIED WITH mysql_native_password BY '';
-- Query OK, 0 rows affected (0.02 sec)
変更されました。
mysql> select User,Host,plugin from mysql.user;
+------------------+-----------+-----------------------+
| User             | Host      | plugin                |
+------------------+-----------+-----------------------+
| root             | %         | mysql_native_password |
| mysql.infoschema | localhost | caching_sha2_password |
| mysql.session    | localhost | caching_sha2_password |
| mysql.sys        | localhost | caching_sha2_password |
| root             | localhost | caching_sha2_password |
+------------------+-----------+-----------------------+
5 rows in set (0.00 sec)
“Yay! You’re on Rails!”
DBが作成されていないよ、というメッセージが出るので db:prepare でテーブルを作成します。
$ docker-compose exec web bundle exec rails db:prepare
これでRailsのホーム画面が表示されるようになります。

参考
- 過去に同じことをやったときのエントリ: docker-compose で Rails 環境を構築する